O que é HTML e para que serve? O Guia Completo
Descubra o poder do HTML, a linguagem essencial da web, e como ela molda a estrutura e o conteúdo da internet. Aprenda sobre tags, elementos e atributos HTML neste guia completo
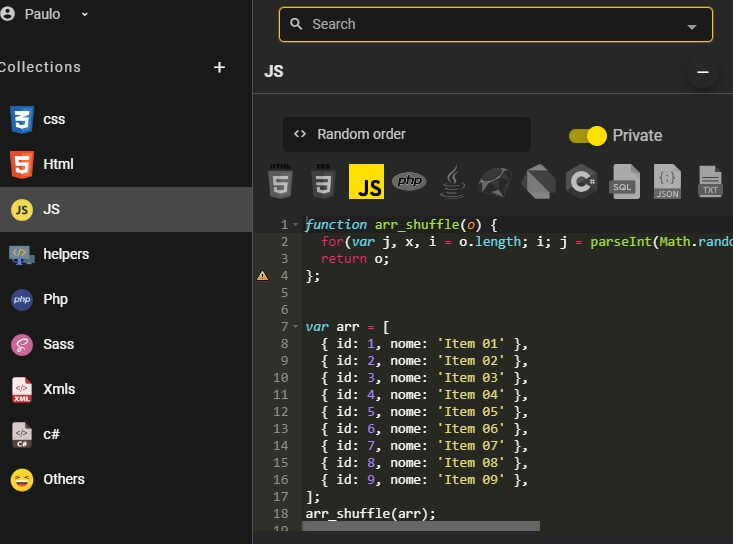
Codesnip.net is the best place to keep all your code snippets
The pro's way of remembering, all your code snippets, organized in one place
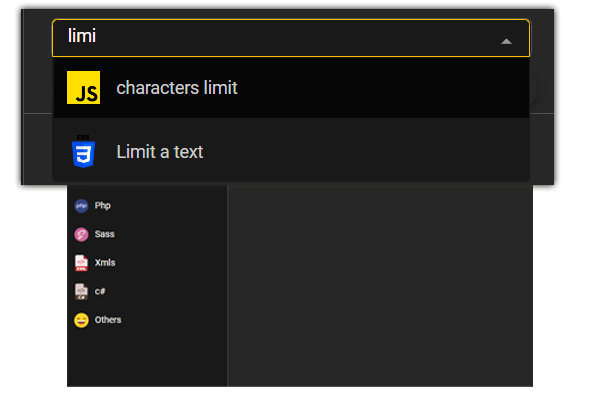
Agile and fast search when looking for your code snippets.
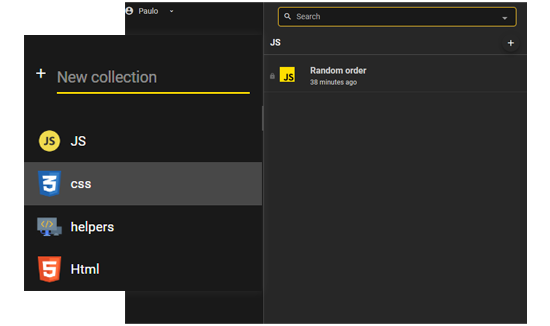
Easily organize your code snippets, customize your collections with icons.
With a few clicks you can create, search and copy your code snippets using our extension.

Descubra o poder do HTML, a linguagem essencial da web, e como ela molda a estrutura e o conteúdo da internet. Aprenda sobre tags, elementos e atributos HTML neste guia completo
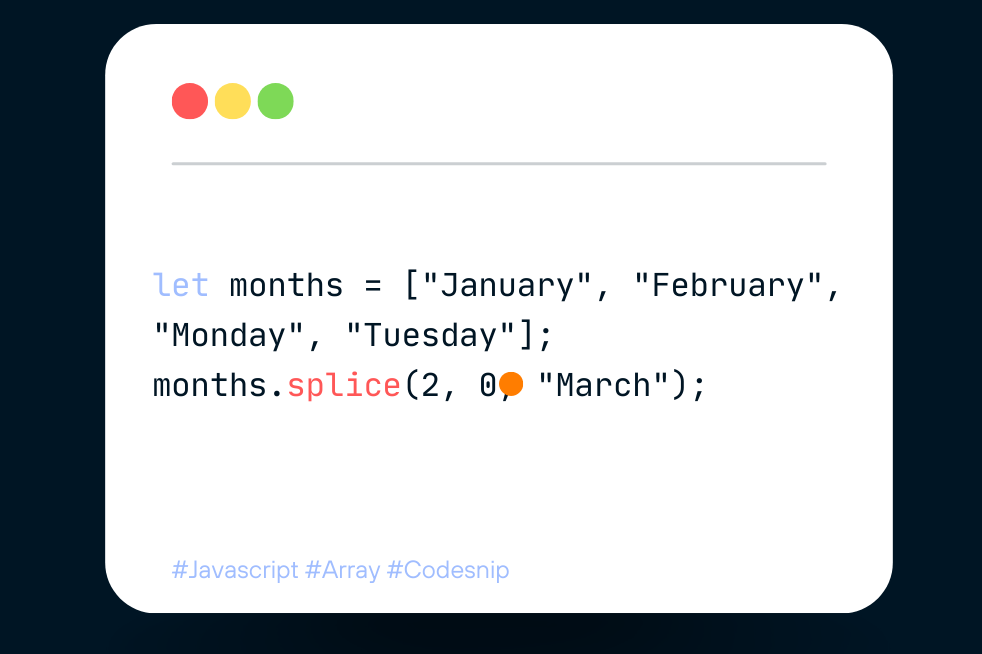
xplore the versatility of JavaScript's splice() method with practical examples. Learn how to remove, add, and replace elements in arrays effortlessly. Dive into array manipulation!
Unlock the power of persuasive copywriting with this comprehensive guide. Discover the proven marketing formulas that will take your writing to the next level!